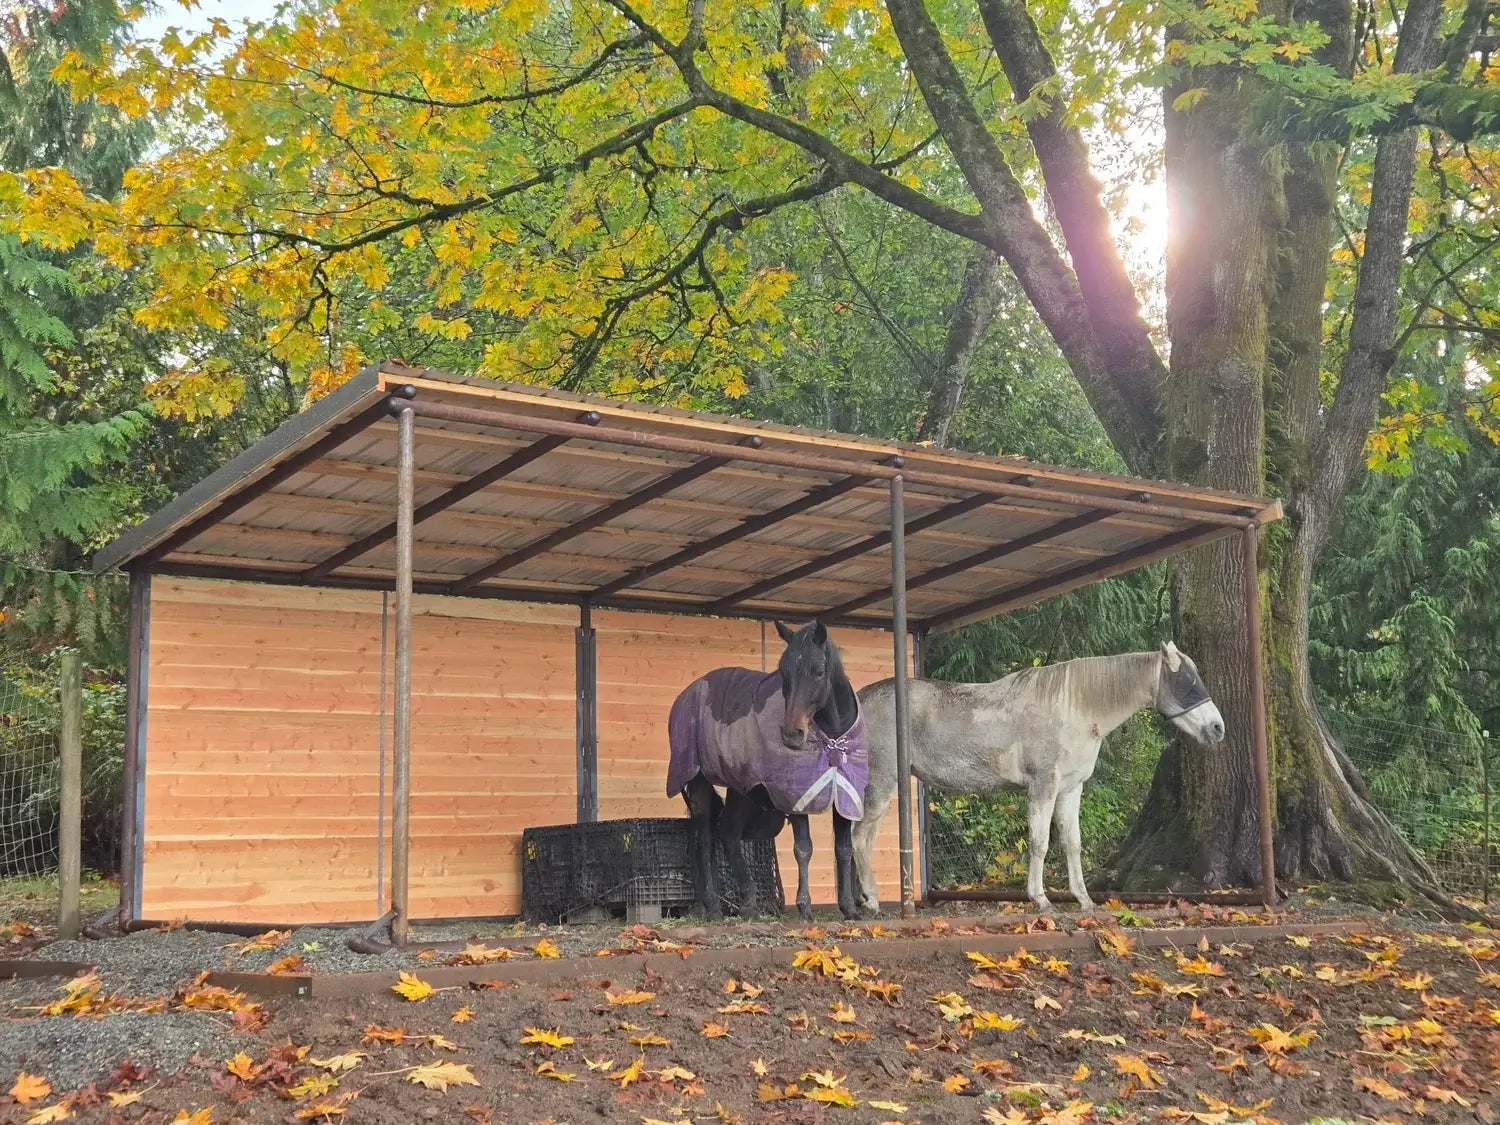
Mud management
How to Install Mud Control Grids in Your Horse Paddock: A DIY Guide That Makes It Less Scary Than You Think

If you've been staring at your muddy paddock thinking "I know I need to fix this but I don't know where to start" — this post is for you.
Installing mud control grids is one of those projects that looks intimidating from the outside and turns out to be surprisingly straightforward once you're doing it. Most people who install Lighthoof have zero construction experience. No contractor. No heavy equipment crew. Just a couple of people, a weekend, and a willingness to move some gravel.
This guide walks through what to expect, what you need, and how to plan your project so it's manageable — even on a tight budget and a tight timeline.
Who Actually Installs Lighthoof
This might be the most important thing to know before you start: the vast majority of Lighthoof installations are done by the horse owner themselves.
The typical installer is a husband-and-wife team, a couple of barn friends, or sometimes just one determined person with a wheelbarrow. Rarely is it someone with professional construction experience. These are horse people doing this for themselves, on their own property, with basic tools.
Don't take our word for it — here's what customers say:
"Online instructions were straightforward. Two over-60-year-old women installed 6 panels in one day." — Karen D.
"Being 'older' and never having done it before, we think it turned out great." — Debra G.
"Installation was easy and my kids were able to help me do it!" — Kurt B.
On average, expect roughly 30 minutes to an hour per panel, depending on whether you have everything staged and ready and whether you have a tractor to move your gravel. A small project of 4–6 panels is comfortably a one-day job for two people.
What You Need (The Full Supply List)
One of the best things about this project is how short the supply list is.
From Lighthoof:
- Lighthoof panels — Each panel covers 72 square feet (6' x 12'). Each weighs approximately 24 lbs. Zip ties for connecting panels are included.
- Geotextile fabric — 6–8 oz non-woven. Available bundled with panels at a discount, or source from a local landscape supply.
From your local quarry or landscape supplier:
- Angular crushed gravel — 3/8" minus or 1/4" minus with fines. Plan for 1.75–2 cubic yards per panel. (For detailed guidance on choosing the right gravel, read our Complete Gravel Guide.)
From your hardware store or what you already have on hand:
- Edge protection lumber — Landscape timbers, railroad ties, or pressure-treated boards for bordering the installation
- Temporary stakes — Metal or wood, for holding panels in position while stretching
- Basic tools — Rake, shovel, wheelbarrow (or tractor with bucket), and a plate compactor (available to rent at most hardware stores) or hand tamper
- Heavy scissors or utility knife — For cutting panels to fit around posts, walls, or fence lines
That's the complete list. No excavation equipment. No concrete. No specialized tools. No subcontractors.
The Five Steps
Here's what the installation actually looks like, simplified. For the full detailed walkthrough with video, visit our Installation Guide.
Step 1: Pick Your Worst Spot
You don't need to do your whole paddock at once (more on that below). Start with the single area that causes you the most frustration — the gate entrance, the shelter front, the water trough zone, or the path your horses walk every single day.
Starting with your worst spot means you'll feel the biggest difference from the smallest investment.
Step 2: Light Prep
Remove any large rocks or debris from the area. If you want to adjust your drainage grade — for example, shaping a shallow swale to redirect surface water — do it now before anything else goes down.
Here's what you do NOT need to do: you don't need to remove existing mud. You don't need to excavate. You don't need to level the ground to perfection. Lighthoof is flexible and conforms to imperfect, unlevel terrain. That's what it's designed for.
Step 3: Roll Out Fabric
Lay your geotextile fabric over the existing ground, overlapping edges by 18 inches. The fabric separates your gravel from the soil below, preventing the gravel from sinking into the mud during installation.
Step 4: Stretch and Stake Panels
Lighthoof panels ship compressed. You stretch them out to their full 6' x 12' size and stake them temporarily to hold their position. Where panels meet, connect them with the included zip ties.
To help you visualize how they stretch out into 6' x 12' rectangles, the strip on the short end (6' width) is green.
Need to fit around fence posts, walls, or structures? Cut the panels with heavy scissors or a utility knife. They trim easily and can be fitted snug against any obstacle.
Step 5: Fill with Gravel and Compact
Pour your angular crushed gravel into the cells, overfill slightly, and compact using a plate compactor or hand tamper. We highly recommend renting a plate compactor for this. It's an easy tool to learn and does the best job. Add approximately 1–2 inches of loose gravel on top of the cells for a smooth finished surface. Install your edge border lumber along all open sides to contain the gravel and protect the panel edges (most people find it's easier to set the edge border first and then use that as a frame to stretch the panels to).
That's it. Horses can go on it as soon as you're done.
You Don't Have to Do It All at Once
This is the section for anyone looking at a big mud problem and a limited budget.
You do not need to do your entire paddock in one project. Start with the single worst area and expand from there, one section at a time, as your budget allows. This is not cutting corners — it's a smart strategy that lets you invest in permanent infrastructure at a pace that works for you.
Here's what that looks like in practice:
Phase 1: Fix the gate entrance or shelter porch — 2 to 4 panels. Under $1k with fabric included in our 4-Panel bundles. One weekend. Immediate, dramatic improvement.
Phase 2: Next season, expand to the water trough area or the path from the barn — another 4 to 6 panels.
Phase 3: Build out to a full sacrifice area or dry lot as budget allows.
Expanding is simple.
When you're ready to add on, start your next section right at the edge of your existing border and build outward. You can also remove the border lumber from the existing section, clean off the outer edge of the installed panel, and connect new panels directly to the old ones with zip ties. The result is a seamless, continuous surface.
Many of our customers are repeat buyers. They do a small project, watch it perform through a winter, and come back for more the next season. That first weekend project becomes the foundation for a long-term mud management plan.
Where to Start: The Highest-Impact Zones
If you're not sure where your first panels should go, here are the areas ranked by impact per square foot — the places where a small installation makes the biggest difference:
1. Shelter entrance/porch. The single worst mud zone on any horse property. Every horse walks through it multiple times daily. A shelter porch made of Lighthoof eliminates the problem permanently.
2. Gate area. The bottleneck where all traffic converges. Horses, humans, equipment — everyone passes through the gate. A few panels here transform the daily experience of entering and exiting the paddock.
3. Water trough/feeder zone. Constant traffic plus constant moisture equals guaranteed mud. Stabilizing this area keeps it accessible and clean.
4. Paths between barn and paddock. The daily-use walkways that connect your world. Especially valuable if you're hauling feed, pushing a wheelbarrow, or leading horses between areas.
5. Full sacrifice area / dry lot. The complete solution for winter turnout and pasture protection. For a deep dive on planning one, read our Sacrifice Area Guide.
Common Concerns, Answered
"What if I've never done anything like this?"
You're our typical customer. Lighthoof panels are specifically engineered for horse paddocks — they're flexible, they stretch to fit your terrain, and they don't require any specialized site prep or equipment. We've been doing this for over 15 years and we've helped thousands of horse owners through their first installation. We are here to help — before, during, and after your project.
"Do I need a tractor?"
A tractor or skid steer with a bucket makes gravel distribution much faster. But plenty of people complete installations with just a wheelbarrow and rake. It's more physical labor, but no more complexity. The installation process is the same either way.
"What about the gravel — how do I know what to order?"
This is the most common question we get, and it's easier than you think. Read our Complete Gravel Guide for everything you need to know, or send us a link to your local quarry's product list at mud@lighthoof.com and we'll tell you exactly what to order.
"Can I install it on a slope?"
Yes. Lighthoof is flexible and follows the contour of your terrain. Just make sure the slope works in your favor for surface drainage — water flowing away from structures, not toward them.
"Can I drive over it?"
Yes. Lighthoof supports tractors, trucks, and UTVs. This matters for gravel delivery, manure removal, and general chore access. You won't need to work around it — you can work right over it.
What Happens After Installation
The first time it rains after your installation, you'll walk out and see firm, dry ground where there used to be mud. This is the moment every Lighthoof customer talks about. It's real, and it doesn't get old.
Ongoing maintenance is minimal:
- Pick up manure regularly. Daily is ideal, every few days at minimum. This is the single most important thing you can do to keep any footing performing well.
- Top-dress gravel as needed. Typically a small amount every year or two. If you ordered 2 yards per panel for a smaller project, you'll have extra on hand for this.
- Keep edge borders intact. Check lumber periodically and replace any pieces that shift or degrade.
The surface actually gets firmer over time as the gravel settles and compacts further. Year two is better than year one. Lighthoof installations age like a fine wine!
Getting Started
You don't need construction experience. You don't need heavy equipment. You don't need to do it all at once.
You need one weekend, one bundle of panels, and the willingness to start with your worst spot. Under $1k gets you 4 panels with fabric — enough to fix the gate, the shelter entrance, or whatever area makes you cringe every time it rains.
Ready to start?
- Shop Lighthoof Bundles — Free shipping, volume pricing applied automatically
- Watch the Installation Video — Full walkthrough from start to finish
- Read the Gravel Guide — Know exactly what to order
- Call or text 800-279-4716, email mud@lighthoof.com, or use the chat on our website
We've been helping horse owners fix mud for over 15 years. If you have questions about your project — big or small — we'd love to hear from you.