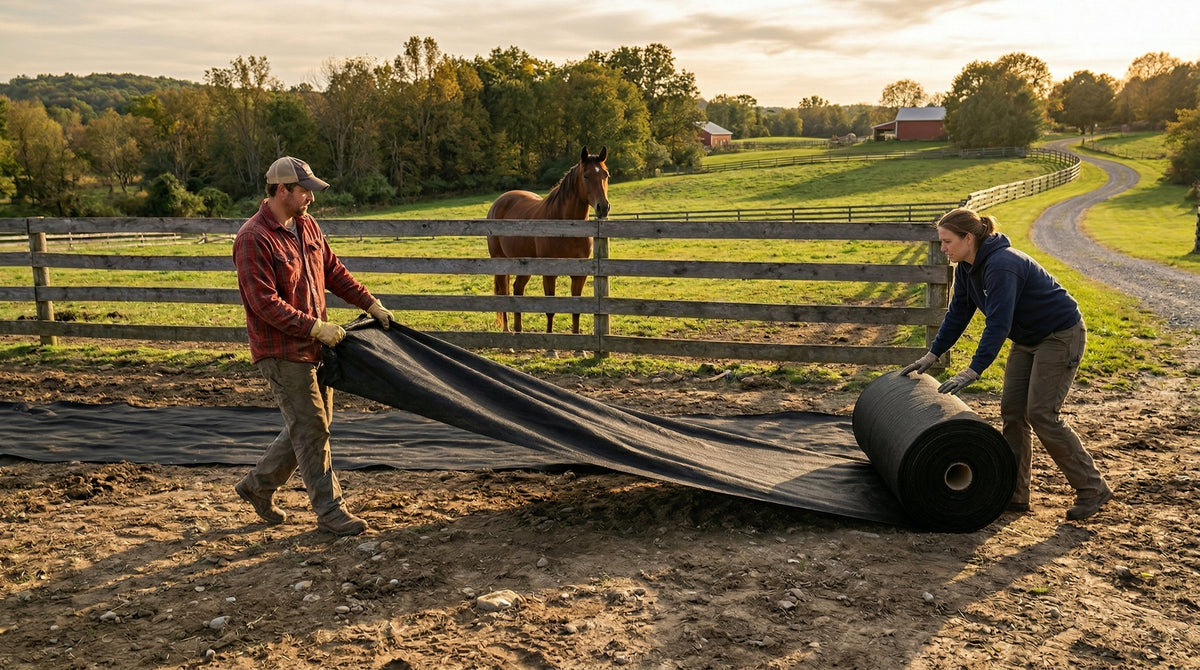
Mud management
Managing Manure Like a Pro: A Practical Guide for Horse Property Owners

If manure was money... I'd be a wealthy woman! My generous horses just keep making deposits!
Here's the manure math that even shocks some horse people: a single 1,000-pound horse produces approximately 50 pounds of manure per day. That's roughly 9 tons per year. Per horse. If you have three horses, you're managing 27 tons of organic material annually. It adds up fast, and ignoring it doesn't make it go away — it just turns it into mud, flies, and parasites.
This guide covers the practical decisions: pickup routine, storage, and your real options for getting rid of it or turning it into something useful.
Why It Matters (The Short Version)
Let's have a look at what happens when manure sits unmanaged, because it directly affects the problems you're already trying to solve on your property.
It creates mud. Horse manure is 70–80% moisture. Left on the ground and trampled by hooves, it becomes liquid organic material that turns any surface into a muddy mess — faster than rain does. According to the King Conservation District, regular manure collection is the simplest and most important thing you can do to prevent mud in confinement areas.
It spreads parasites. Horses reingest parasite larvae by eating off contaminated ground. Regular manure removal breaks the cycle. The South Shore Equine Clinic recommends cleaning stalls daily and paddocks 2–3 times weekly as an essential part of parasite control.
It breeds flies. Manure piles are breeding grounds. Less manure sitting in the open = fewer flies bothering your horses and you.
It can pollute water. Nutrients from unmanaged manure wash into streams, ponds, and groundwater during rain events. Many counties have regulations governing manure storage and runoff for this reason.
None of these problems are complicated to prevent. They all start with the same first step.
Step 1: Pick It Up
Daily pickup from stalls, confinement areas, and sacrifice areas is the gold standard. Every one to three days at minimum. This single habit does more for mud prevention, parasite control, and fly reduction than any other management practice on your farm.
Manure can, but does not need to be, collected from large open pastures. For pastures, occasional harrowing or dragging to break apart piles and distribute nutrients is sufficient.
The real-world factor: make it easy on yourself
The more convenient your pickup routine is, the more consistently it happens. If you're slogging through mud with a wheelbarrow that gets stuck every ten feet, you're not going to want to do this every day. If the surface is firm and flat and you can roll a muck cart or drive a UTV right through the paddock, it takes minutes.
This is one of the most practical benefits of having a Lighthoof surface in your high-traffic areas. Manure sits on top of the compacted gravel and picks up cleanly. You can push a wheelbarrow, pull a muck cart, or drive a tractor across the surface without sinking. It turns manure pickup from a dreaded chore into a quick part of your daily routine.
But here's the flip side: if you don't pick up manure on Lighthoof — or any footing — it builds up. Manure holds moisture. A growing layer of organic material on top of your gravel is essentially a mud layer sitting on a perfectly good mud-free base. Your Lighthoof is doing its job underneath, but un-picked manure creates a new problem on top. Don't let your investment go to waste. Pick it up.
Step 2: Store It
You need a designated storage spot. Not the corner of the paddock or "out back" where it naturally accumulates. An intentional location that keeps the manure contained, accessible, and out of trouble.
Choosing a location
High ground — but not uphill of your paddocks. If you are hauling a full wheelbarrow uphill to the pile and an empty one downhill, you're doing it backwards!
Close to where you collect. The shorter the trip from paddock to pile, the more likely you are to make it daily. Chore efficiency matters.
Accessible by tractor year-round. You'll need equipment access for turning compost, loading for spreading, or loading for hauling. If the site turns to mud in winter and your tractor can't reach it, the system breaks down. Doing horses without a tractor? Consider opting for container removal of your manure because it will be too big of a job to work it by hand.
Away from streams, wetlands, wells, and neighbors. Check your local code requirements — many counties regulate how far manure storage must be from water bodies and property lines. Your local conservation district can help with specifics for your property.
Storage structures
There's a range of options, and the right one depends on your scale and goals.
A simple pile with a tarp or cover is the minimum. Covering your pile keeps rain from saturating the manure and washing nutrients into runoff. This is non-negotiable in wet climates — the King Conservation District requires that all manure storage be covered year-round in Western Washington.
A two- or three-bin system is the recommended setup if you plan to compost. Bins can be made from wood, concrete eco-blocks, or pallets. Two bins minimum — one that you're filling and one that's composting. Three is ideal: one filling, one cooking, one finished and ready to use.
A dumpster service is available in some areas for regular pickup. It's convenient but carries an ongoing cost, and you lose the nutrient value of the manure. This still might be your best option if you have a small property or minimal equipment.
Your conservation district can help you size and design a storage system for your specific property — often for free.
Step 3: Decide What to Do with It
The pile is going to exist regardless. The question is whether it stays a problem or becomes something useful. Here are your real options.
Option A: Compost It and Use It
Composting transforms raw manure into a nutrient-rich soil amendment that can go back on your pastures, gardens, and landscaping. It's the most self-sufficient option, and for many horse property owners, it's the most satisfying.
Why compost instead of just spreading raw manure?
It kills weed seeds and parasite larvae. Raw horse manure is loaded with both. Spreading raw manure on your pastures reintroduces the very parasites you're trying to manage and plants the weeds you're trying to prevent. Properly composted manure — where the pile has reached and maintained 130–160°F for at least three weeks — destroys both. University of Minnesota Extension recommends composting manure before spreading it on any pasture grazed by horses.
It reduces volume significantly. Finished compost takes up a fraction of the space of the raw pile. If storage space is a constraint, composting is the fastest way to shrink your footprint.
It reduces odor and flies. A properly managed compost pile generates far less smell and attracts far fewer flies than a raw manure heap.
It creates something genuinely useful. Finished compost is a valuable soil amendment. Applied at about half an inch per application on pastures during the growing season (spring through early fall), it feeds your grass, builds soil health, and improves soil structure. It's also excellent for garden beds and landscaping.
How composting works (the short version)
Composting is a managed breakdown of organic material by microbes. The microbes need three things: the right temperature, moisture, and oxygen. You provide the conditions — they do the work.
Build your pile. Let it heat up (a compost thermometer is helpful — you want 130–160°F). When the temperature peaks and starts to drop, turn the pile to add oxygen. Repeat. When the pile no longer reheats after turning and the material looks and smells like dark, earthy soil, it's finished compost. The process typically takes 2–6 months depending on the season and how actively you manage it.
The King Conservation District Manure Management fact sheet and University of Minnesota Extension composting guide both provide detailed instructions. The University of Florida publishes a step-by-step guide specifically for composting horse manure on small farms.
A note about sharing compost with gardeners
If you give or sell your composted manure to gardeners, there are two things to be transparent about:
Persistent herbicides. If your pastures have ever been treated with aminopyralid-containing herbicides (sold under names like Grazon, Milestone, or GrazonNext), the residue can survive the horse's digestive system, persist through composting, and kill sensitive garden crops — especially tomatoes, beans, peas, and lettuce. This is the single biggest risk with sharing horse manure. Always disclose your pasture treatment history.
Dewormers. This is a common concern among gardeners, but the research is reassuring. A Cornell University study found that ivermectin — the most common equine dewormer — has a half-life of just 3.6 days in compost and degrades to negligible levels within the first few weeks of composting. Approximately 95% of ivermectin is deactivated inside the horse before it's even excreted. Properly composted manure from dewormed horses is considered safe for garden use.
Option B: Give It Away
Gardeners love composted horse manure. Some will come pick it up themselves and be grateful for the opportunity.
Post on local gardening groups, Craigslist, Facebook Marketplace, or Nextdoor. Many communities have active networks of gardeners looking for exactly what you're trying to get rid of. Just be sure your compost is finished (dark, earthy, no recognizable manure) and be honest about any herbicide or treatment history.
Option C: Have It Hauled Off
If you don't have space to compost or land to spread on, commercial manure hauling services are available in many areas. Some municipalities also offer pickup programs. It's a straightforward solution, though the ongoing cost can add up — and you're essentially paying to remove nutrients that could have gone back into your soil.
Seasonal Quick-Reference
| Season | What to Do |
|---|---|
| Spring | Apply finished compost to pastures (1/2" per application). Begin filling your next composting bin. Daily pickup continues. |
| Summer | Continue daily pickup. Turn compost piles when temperature peaks. Monitor moisture — keep piles covered to prevent rain saturation. Compost breaks down fastest in warm months. |
| Fall | Apply compost to pastures (1/2" per application). This is also the best time to test soil and apply lime if needed. Begin transitioning horses to confinement areas as pastures slow down. |
| Winter | Daily pickup is most critical now — manure on wet ground creates mud fastest. Keep compost covered. Plan any storage improvements for next year. |
Adapted from the King Conservation District Pasture Management Overview.
The Bottom Line
Manure management doesn't need to be complicated. The system is three steps:
- Pick it up — daily from stalls and paddocks.
- Store it properly — covered, on high ground, away from water and your paddocks.
- Do something with it — compost, give it away, or have it hauled.
The single most important thing is step one. Don't leave it where it was deposited. On any surface — including Lighthoof — manure left in place creates problems. Picked up regularly, it's just part of the routine. And on a firm, flat surface, it's a routine that takes less time, muscle, and swear words than previously needed!
Resources
- King Conservation District — Manure Management Overview (PDF fact sheet)
- University of Minnesota Extension — Managing and Composting Horse Manure
- University of Florida — Composting Horse Manure on Small Farms
- Cornell University — The Fate of Ivermectin in Manure Composting
- Find Your Local Conservation District — free technical assistance with manure storage design and siting